Ice dams can wreak havoc on your roof, causing water damage, leaks, and even structural issues if not addressed promptly. If you’re a homeowner in Manchester, NH, dealing with ice dams, you may be wondering how to safely and effectively remove them without causing further damage to your roof. In this comprehensive guide, we’ll explore the do-it-yourself methods for ice dam removal, providing you with the knowledge and tools to tackle this issue efficiently and safely.
Ice Dams
Ice dams are ridges of ice that form at the edge of a roof, preventing melting snow from properly draining off. As the snow on the upper part of the roof melts and runs down, it refreezes at the roof’s edge, creating a barrier that traps water behind it. This trapped water can seep under shingles, leading to leaks and water damage inside the home.
The Risks of Ice Dams
Ice dams pose several risks to your home, including:
Water damage to ceilings, walls, and insulation
Potential mold and mildew growth
Compromised structural integrity of the roof
Damage to gutters and downspouts
Injury risk from falling icicles
Preventing Ice Dams
While ice dam removal is essential, preventing them in the first place is the best strategy. Here are some preventive measures you can take:
Ensure proper attic insulation and ventilation to maintain a consistent roof temperature
Keep your gutters and downspouts clean and free of debris
Install heating cables along the roof’s edge to prevent ice buildup
DIY Ice Dam Removal Techniques
If you’re already dealing with ice dams on your roof, it’s crucial to address them promptly to prevent further damage. Here are some DIY techniques for safe ice dam removal:
Using a roof rake: Safely remove the snow from your roof using a long-handled roof rake. This can help prevent further ice buildup and relieve the weight on your roof.
Applying calcium chloride: Fill a nylon stocking with calcium chloride and place it on the ice dam, perpendicular to the roof edge. This will help melt the ice and create a channel for water to drain off the roof.
Creating channels: Use a hose to create channels through the ice dam, allowing the trapped water to drain off. This should be done carefully to avoid causing damage to the roof or gutters.
Safety Considerations
Safety should be your top priority when removing ice dams. Keep the following tips in mind:
Use caution when working on a roof covered with ice and snow
Avoid using sharp tools or implements that could damage your roof
Consider hiring a professional if the task seems too challenging or dangerous
In the end
Ice dams can pose significant risks to your home, but with the right knowledge and tools, you can safely tackle the issue. By appreciating the causes of ice dams, taking preventive measures, and using DIY removal techniques, you can protect your home from potential damage and ensure the safety and integrity of your roof.
Get Free Quote
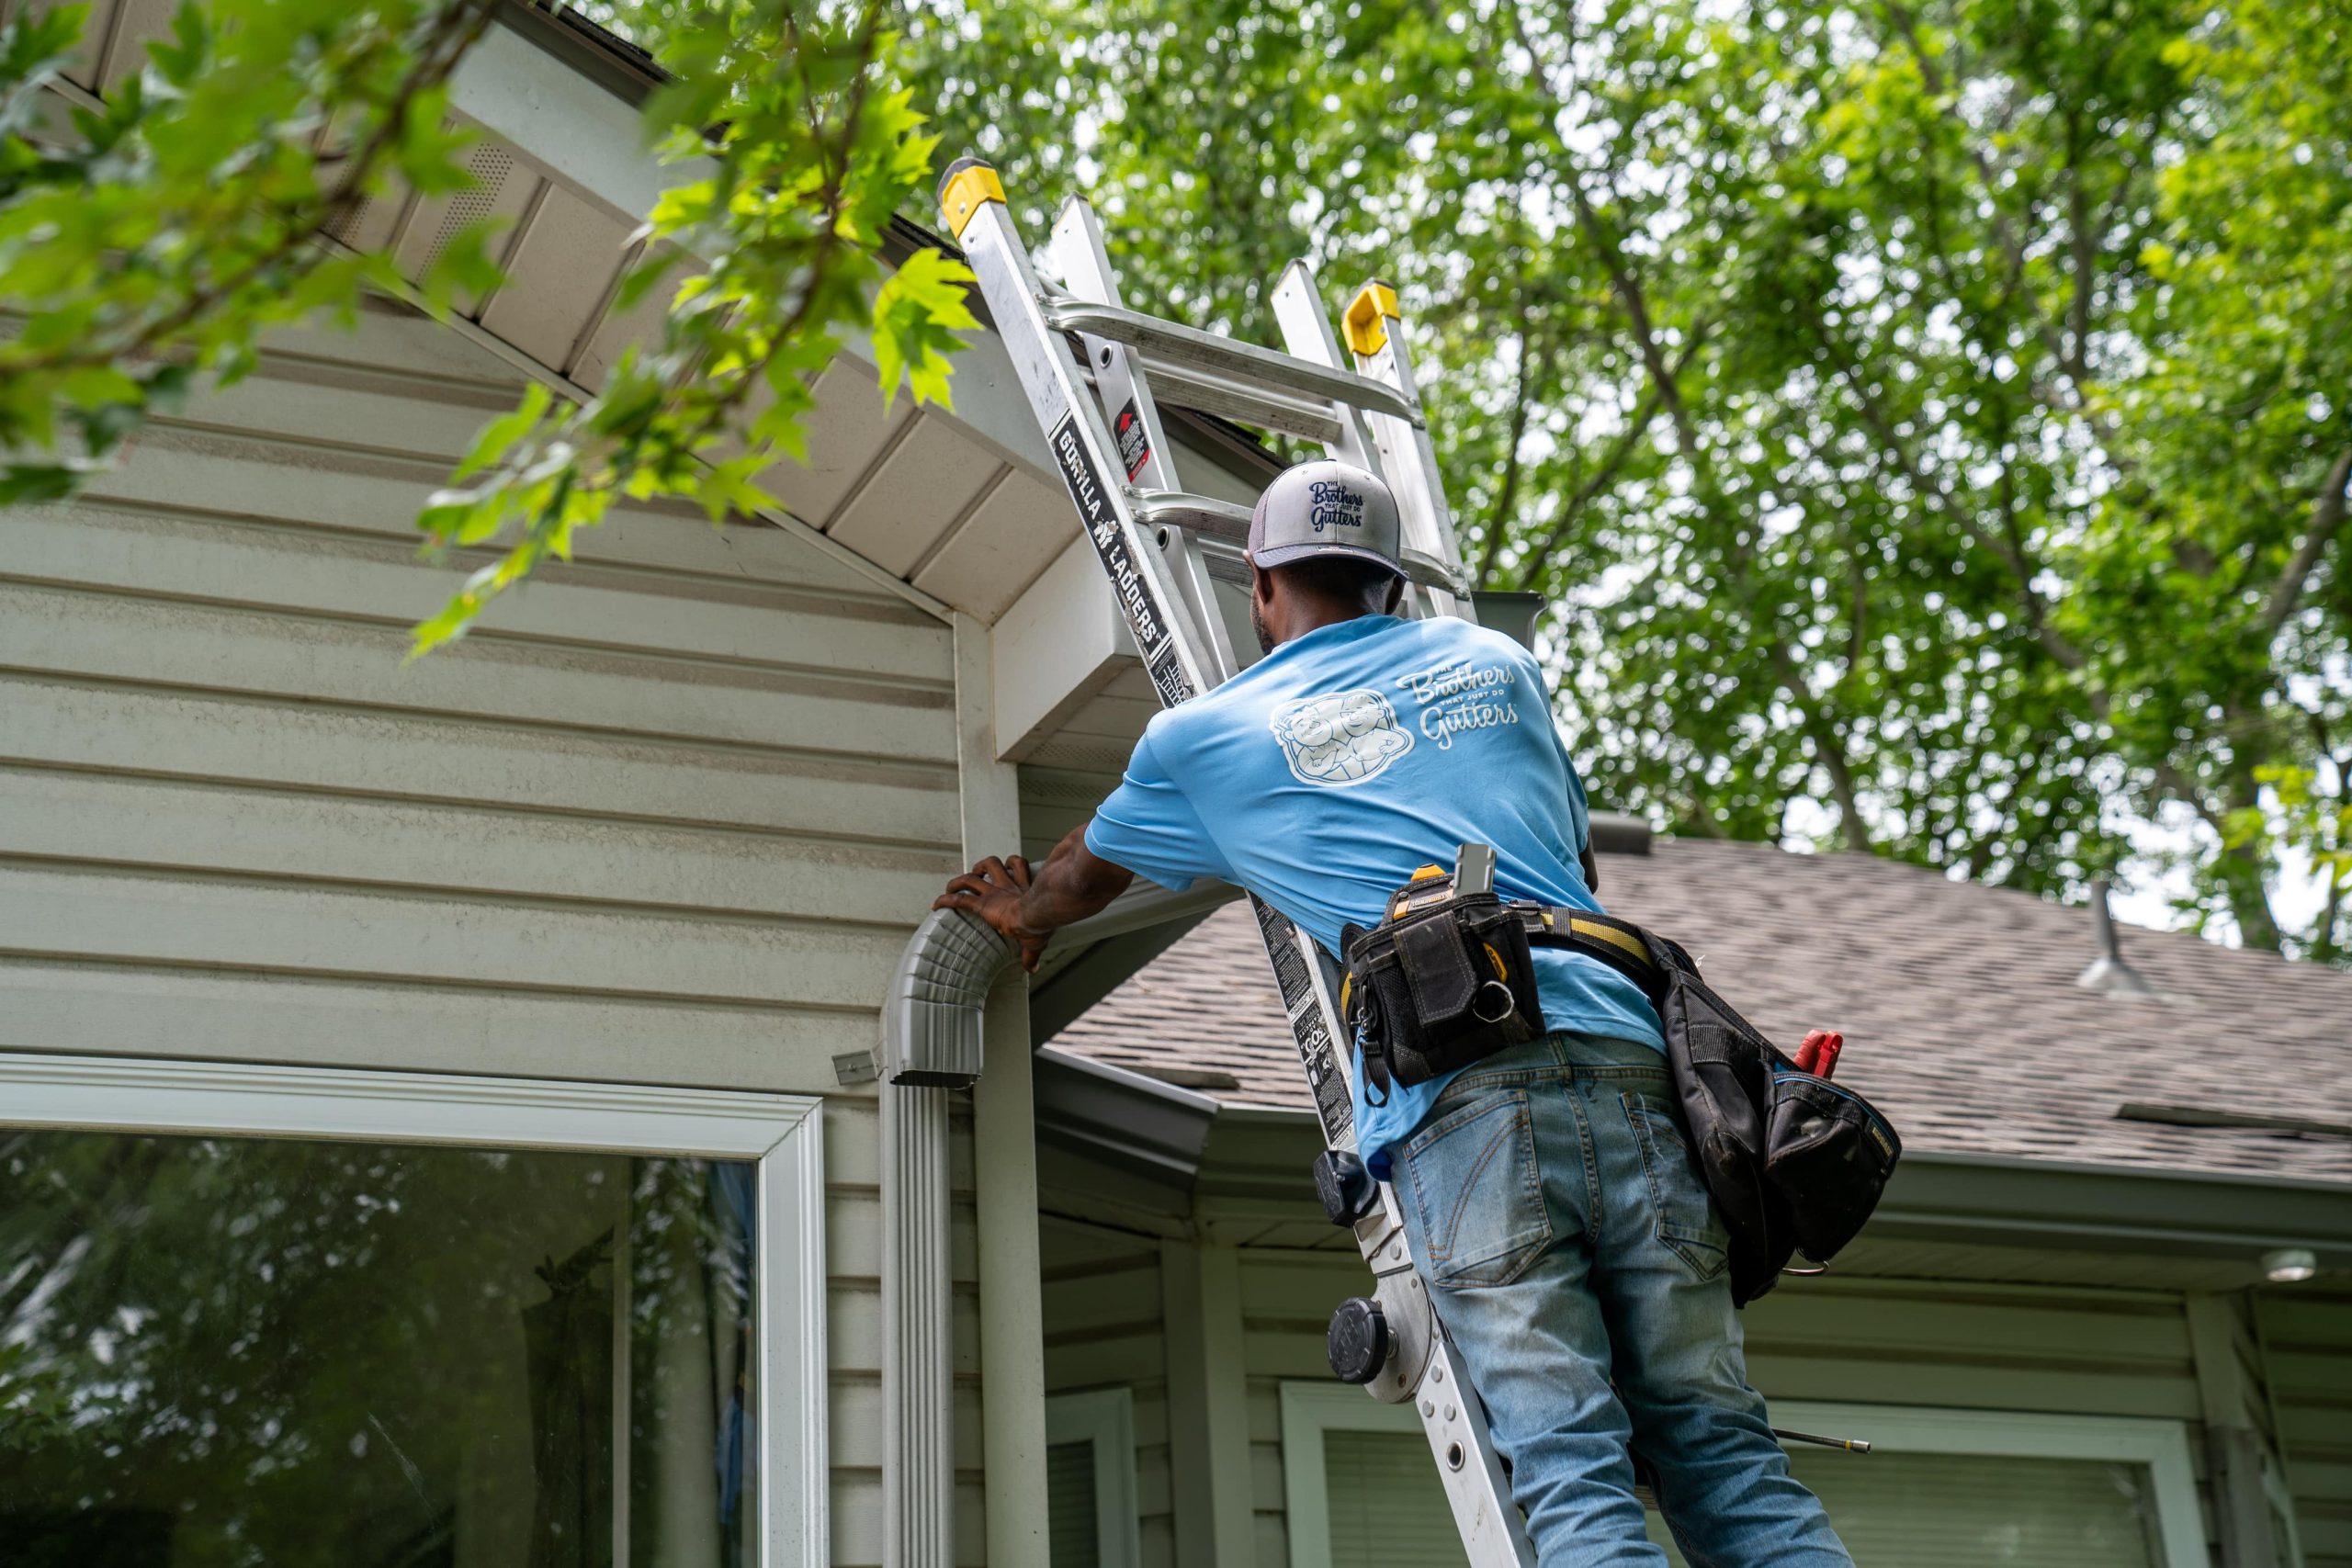
Brothers Gutters of Merrimack Valley offers professional gutter installation, repair, and maintenance services in Manchester, NH and surrounding areas. Contact us for a free quote and let us help you safeguard your home from the damaging effects of ice dams.